

You’ll Be Working In: VeeroTech cPanel
In Step 3, you told your domain where your website lives. Now you tell your hosting to expect it. It’s like putting your name on the mailbox at your new house, so the mail has somewhere to land.
Before You Begin: Have your VeeroTech login information and the domain name you purchased in Step 1 ready.
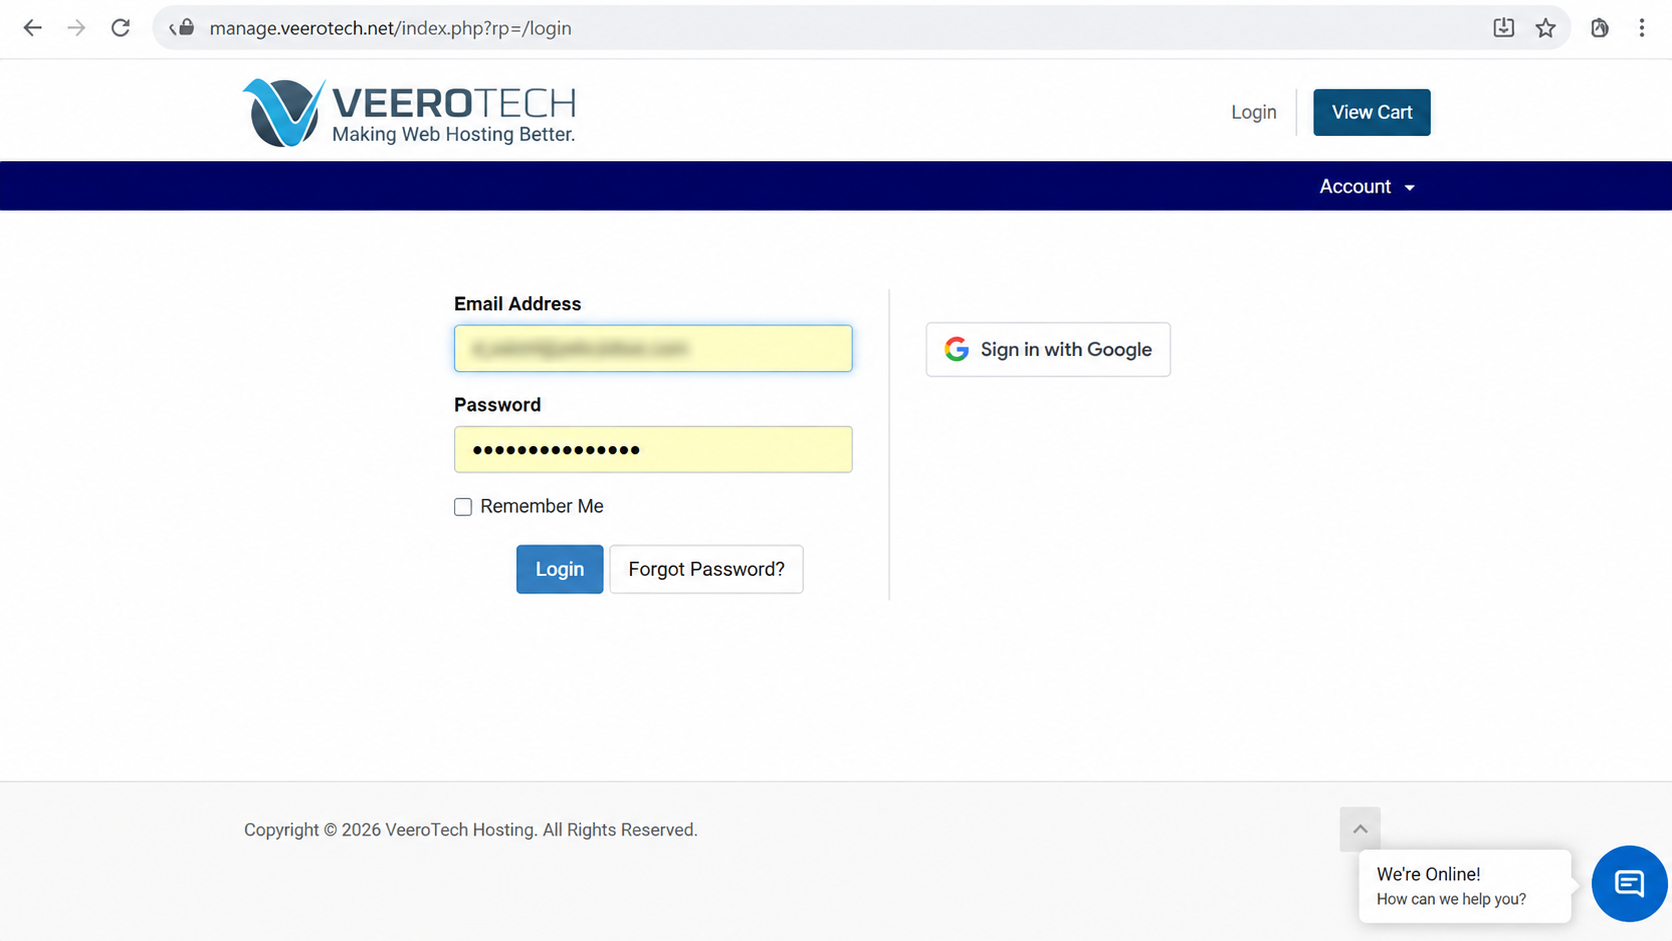
1. Log In to VeeroTech @ https://veerotech.net
Visit the VeeroTech client area and log in.
2. Open cPanel
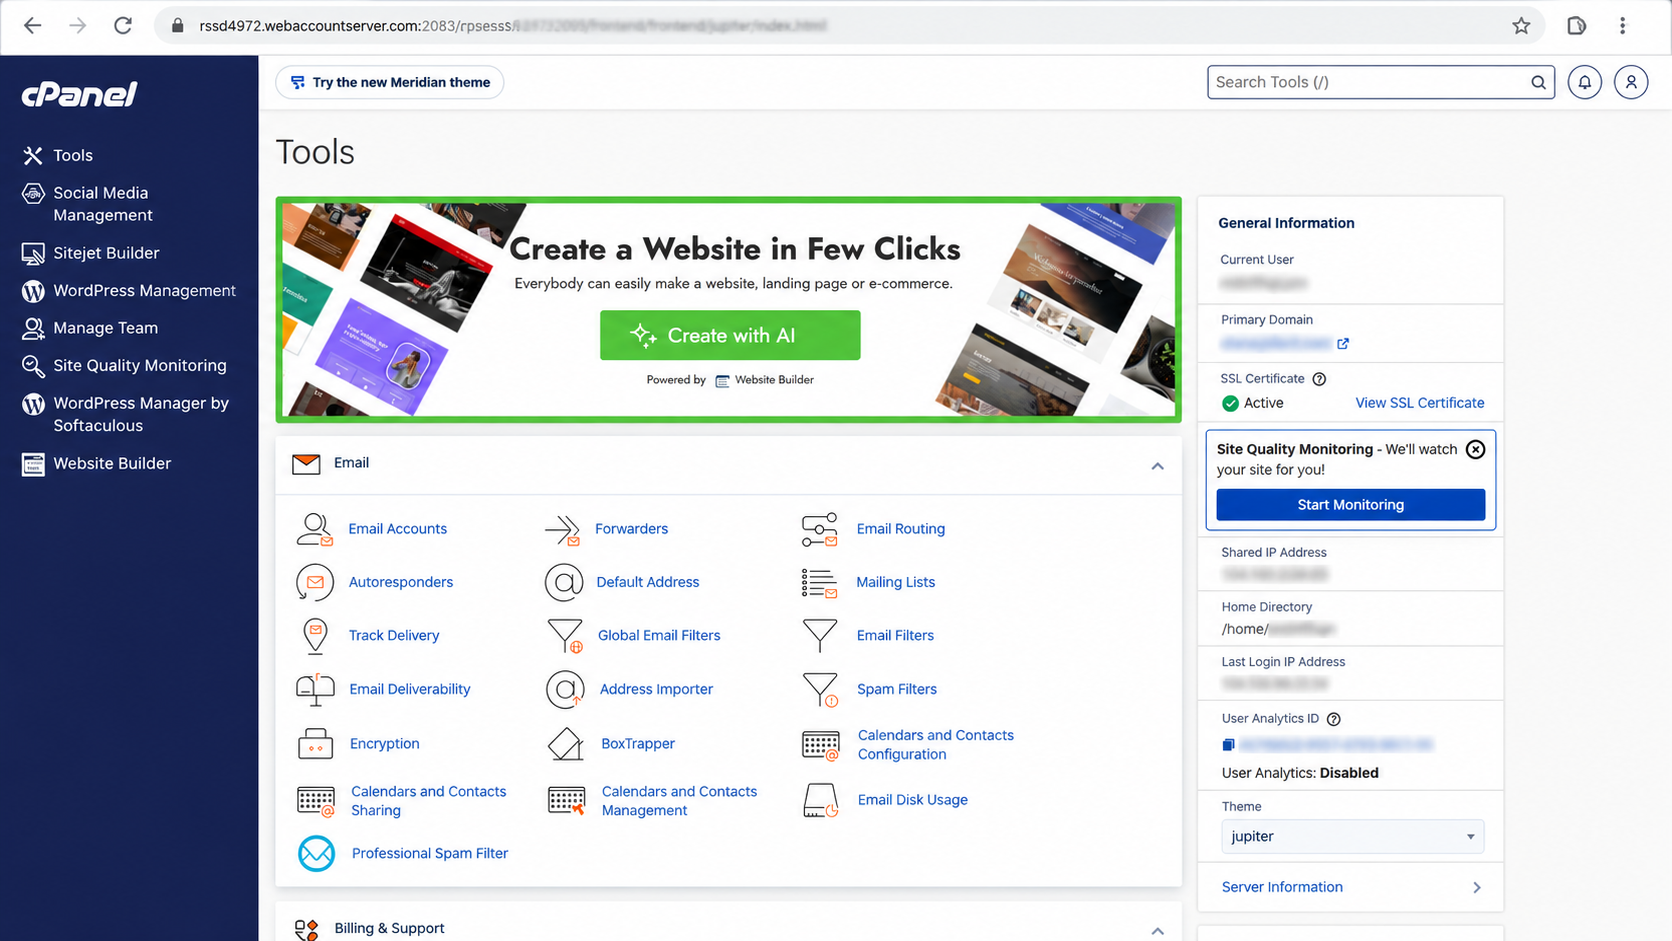
On your VeeroTech dashboard, find your active hosting service and click Log in to cPanel.

3. Welcome to cPanel
This is your hosting control panel. You’ll use it to manage your website, email and other hosting features.
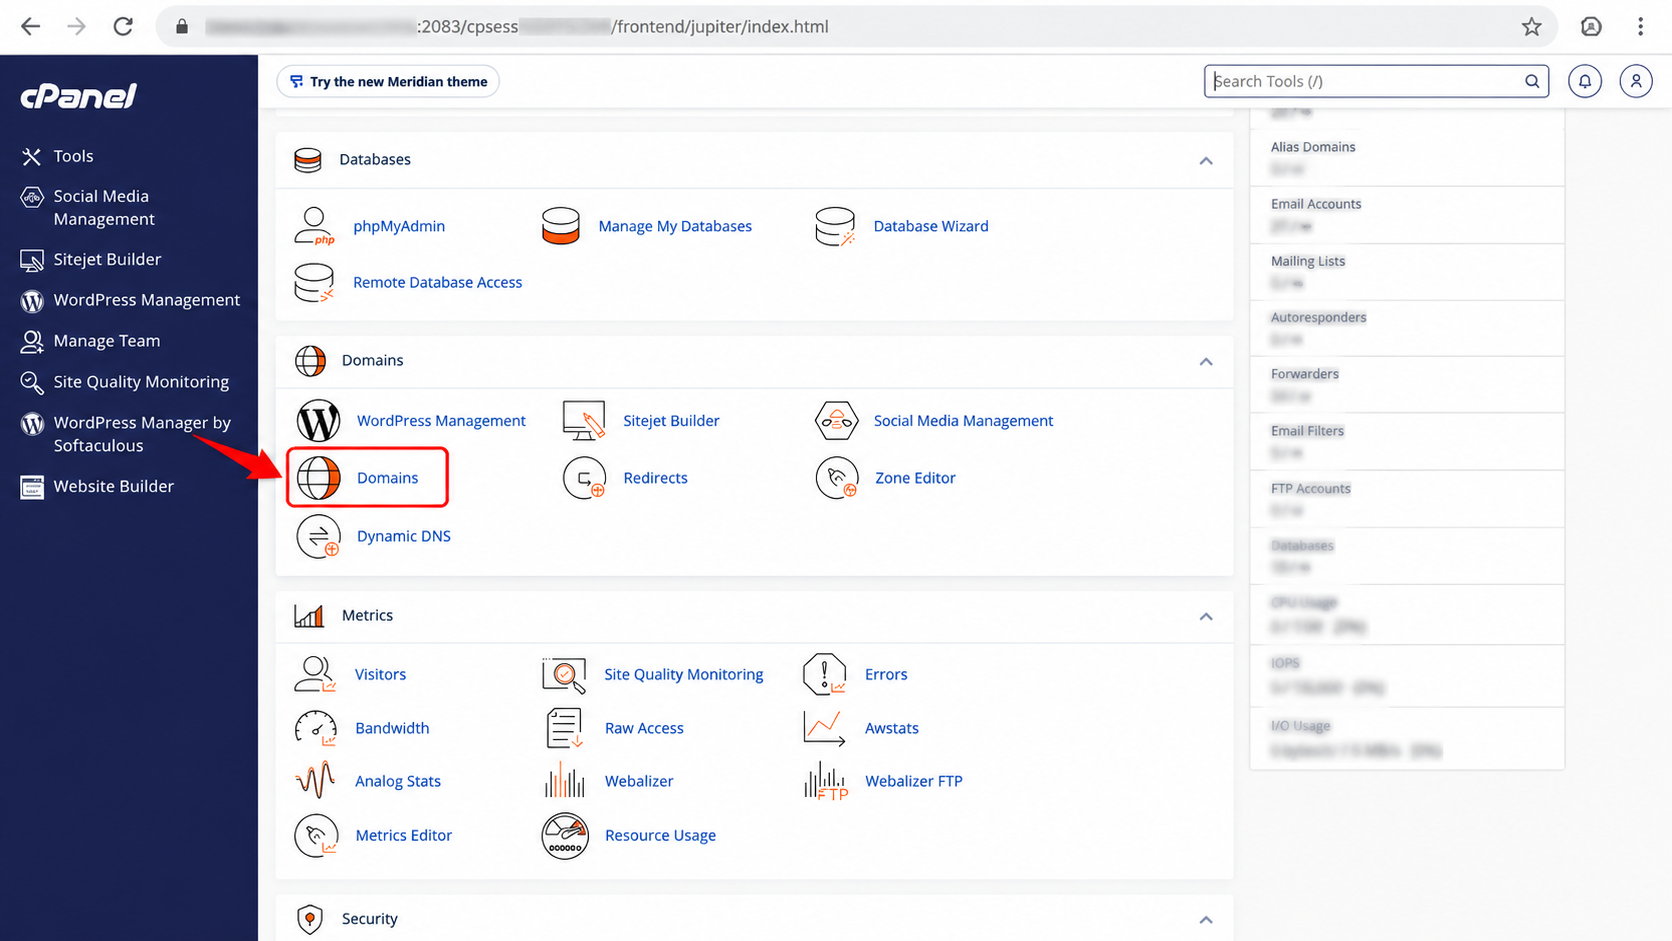
4. Find Domains
Scroll down to the Domains section and click Domains.
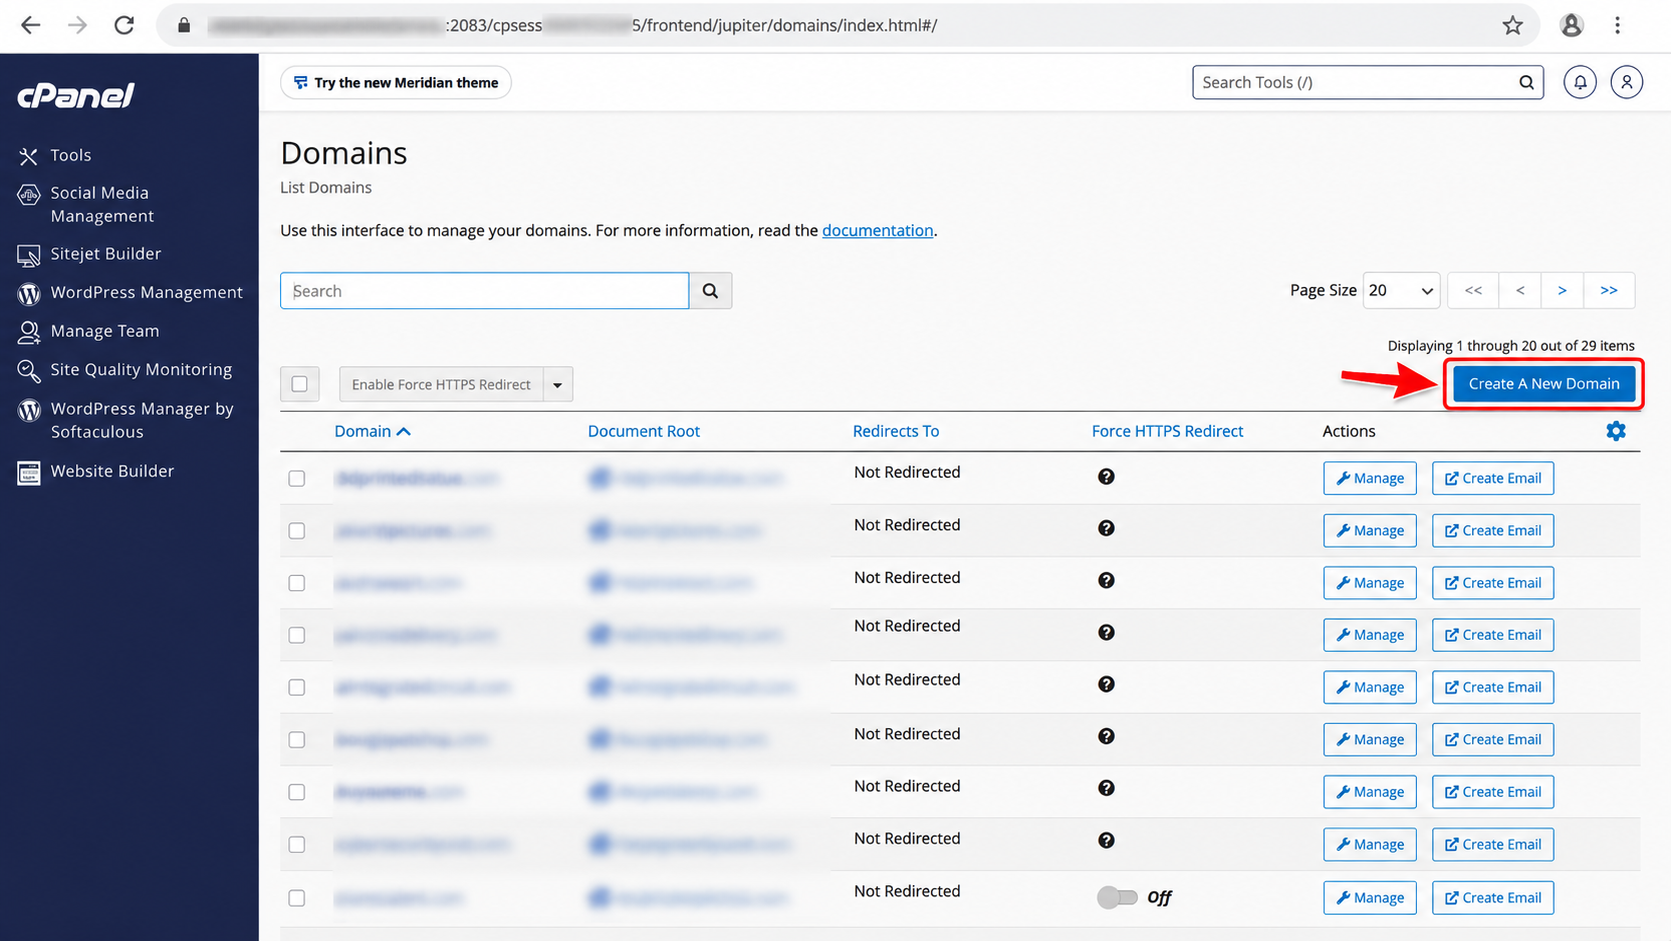
5. Create a New Domain
Click Create a New Domain.
6. UNCHECK Share Document Root
IMPORTANT: Give Your Website Its Own Folder! Uncheck Share document root. Your hosting account already has a main folder, usually with an automatically assigned name. Unchecking this box creates a separate folder for your new domain, keeping your website files organized and independent.
For this guide, each website needs its own folder. Do not skip this step.
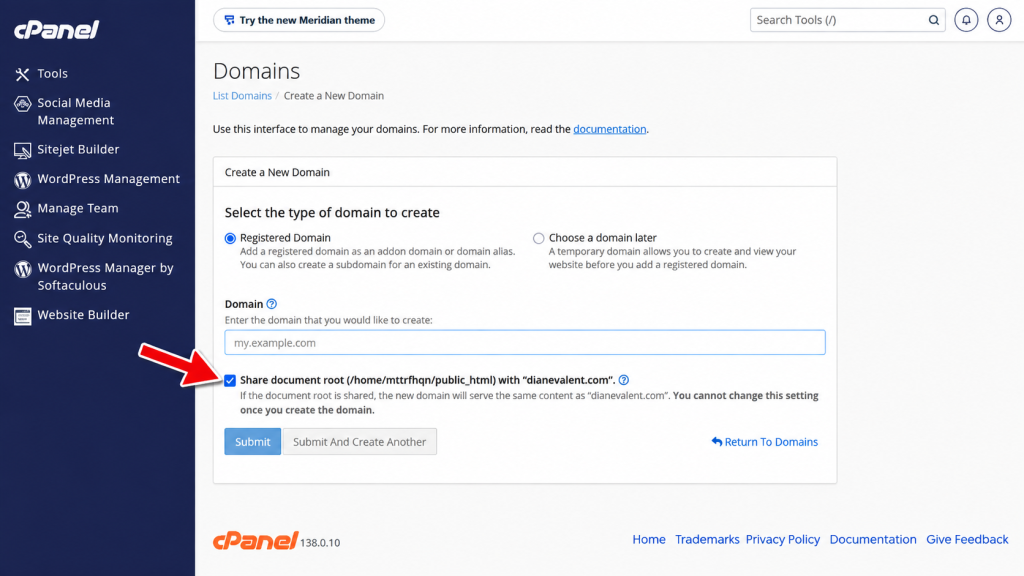
After unchecking the box, the Document Root field appears.
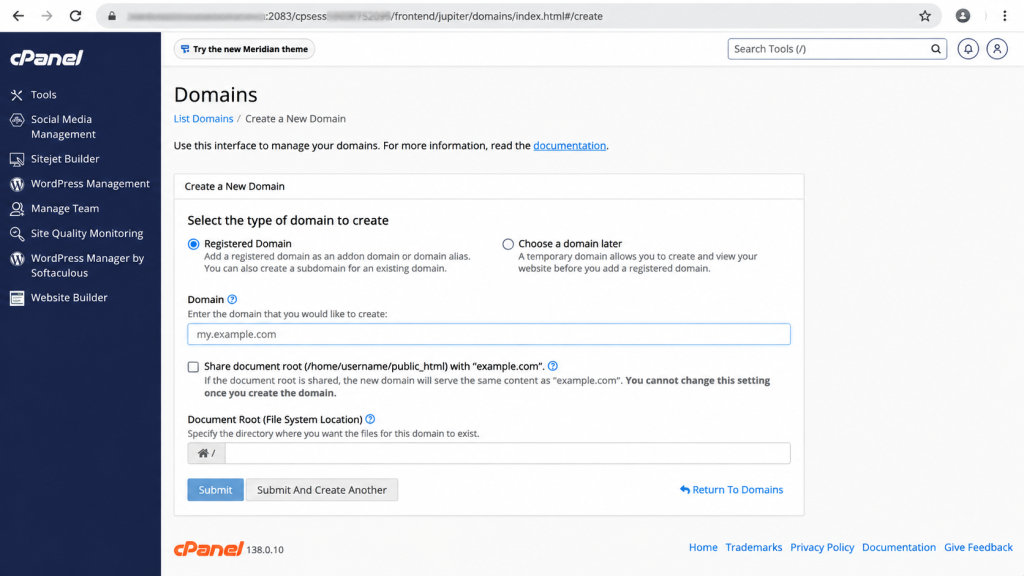
7. Enter Your Domain Name
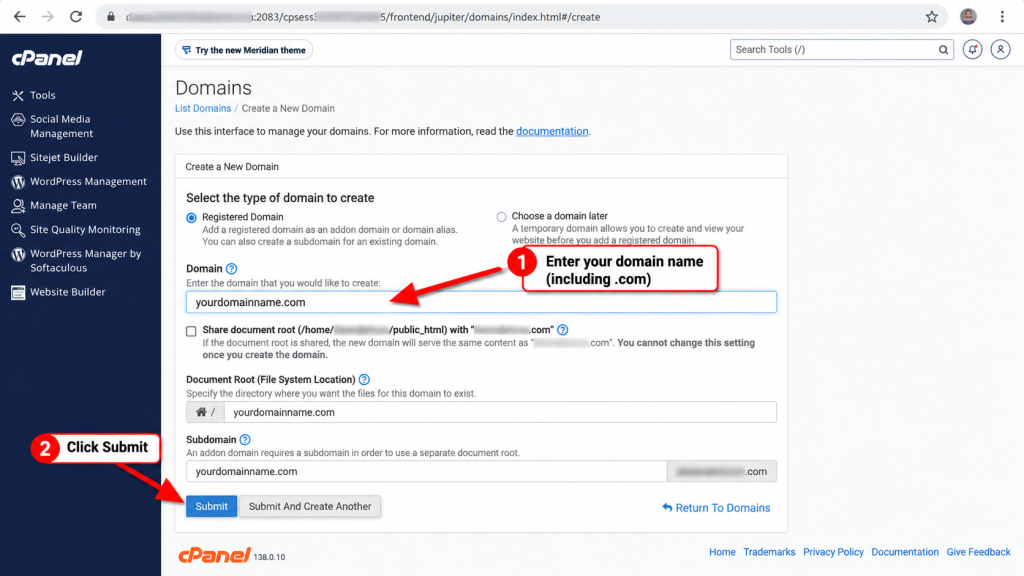
Enter the domain name you purchased in Step 1. Check that the document root is a separate folder for your new website.
Click Submit.
8. Confirm Your Domain Was Added
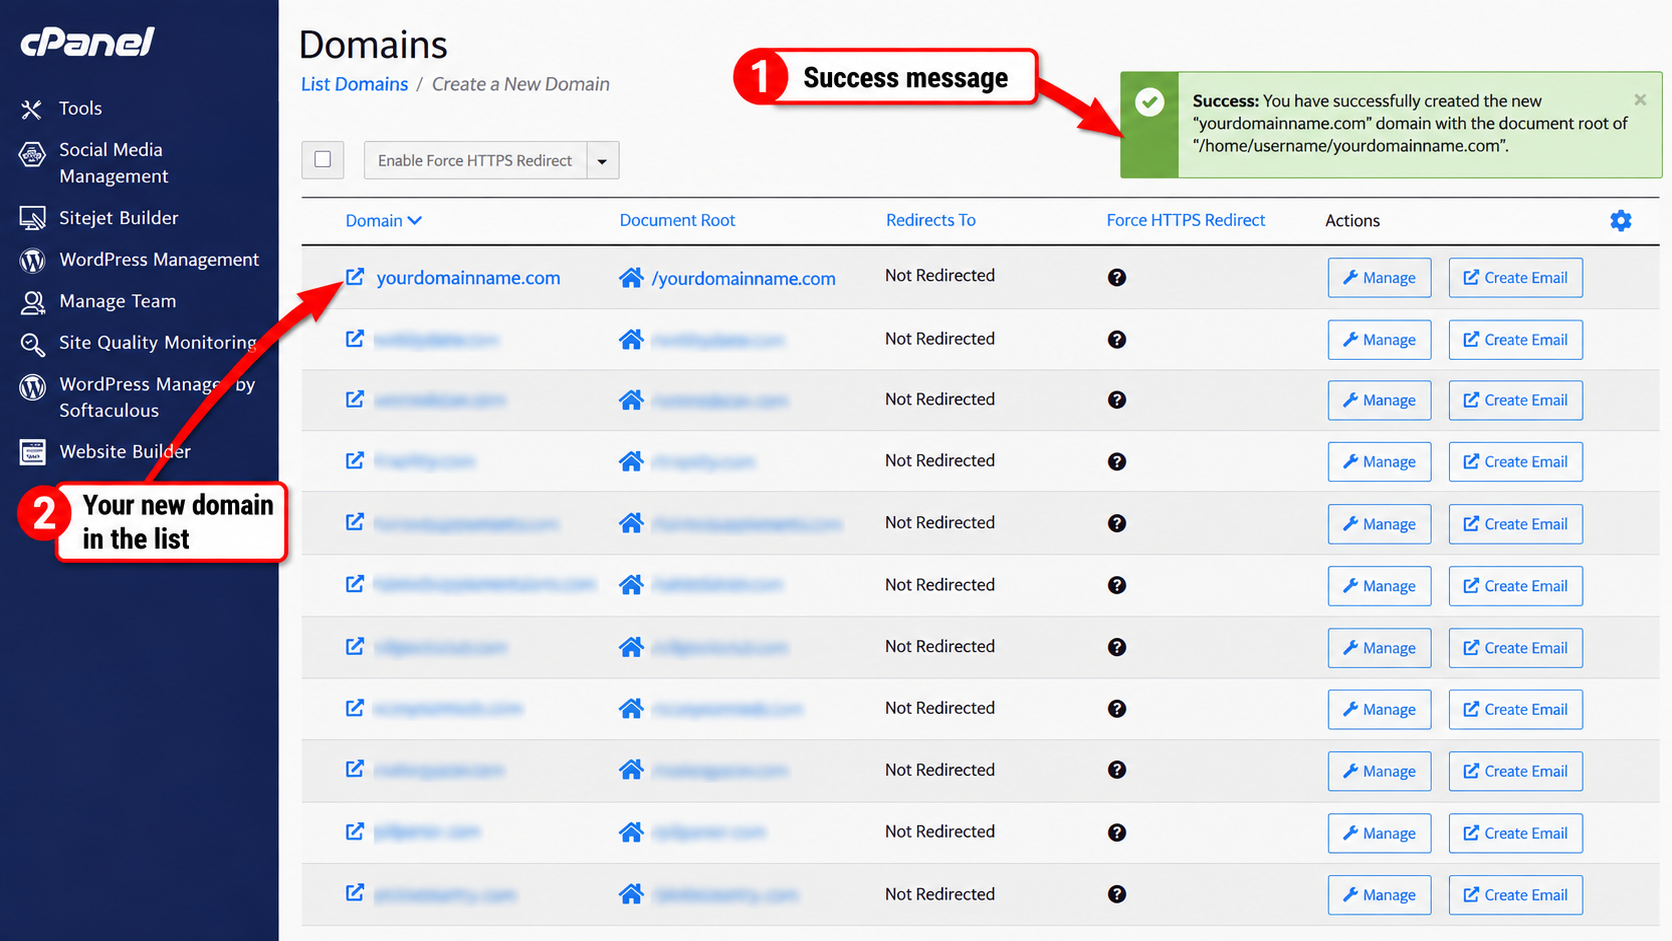
Look for the green success message confirming that cPanel created your new domain. Your domain should also appear in the domain list.
Before You Move On
☐ I’ve added my domain to my hosting account.
☐ I unchecked Share document root.
☐ My website has its own document root.
☐ I received the success confirmation.
Something Not Working?
Domain already exists? Check the Domains list before trying again.
Didn’t get a success message? Check the Domains list or contact your hosting provider before resubmitting.
What’s Next?
Your domain is now added to your hosting account and has its own folder. You’re ready to install WordPress!
Step 5: Install WordPress — We’ll use Softaculous in cPanel to install WordPress on your new domain.
← Step 3 Point Your Domain to Your Hosting |
Down & Dirty | Step 5 Installing WordPress→ |
